How to set up Yandex Webmaster Tools
If your website serves Russian-speaking users or even if you get a small trickle of traffic from countries like Russia, Kazakhstan or Belarus, ignoring Yandex in 2025 is a major SEO blind spot. While most site owners obsess over Google, Yandex quietly maintains a firm grip on nearly half of Russia’s search market. According to Statcounter’s 2025 report, Yandex holds between 40% to 50% of the local search share, with millions of daily users browsing via Yandex Search, Yandex Mail and the Yandex app ecosystem.
This matters even more today because Yandex’s AI-powered search layer, known as YandexGPT Overviews, is changing how users find answers. Just like Google’s AI Overviews, Yandex now pulls its quick-answer snippets and featured content from a very small pool of trusted, high-authority, well-indexed sites. If your site isn’t part of that trusted pool, you’re invisible.
And here’s the catch: If you’re running your site on WordPress, Shopify or Ghost, you’re already at a disadvantage. Most Western CMS platforms aren’t built with YandexBot in mind. This means your new blog posts, product pages or landing pages could sit in a “Discovered but not indexed” status for weeks or never get indexed at all.
Why does this happen? Often, Yandex can’t find your sitemap. It doesn’t get the right signals from your server. It can’t process JavaScript-heavy layouts. Or worse, it detects crawl errors that you didn’t even know existed, because you weren’t monitoring them inside Yandex’s own tools.
That’s where Yandex Webmaster Tools comes in. It’s free. It takes less than 30 minutes to set up. And once it’s live, you’ll have access to your crawl stats, indexation reports, site quality score (called SQI) and sitemap submission tools.
And if you want to automate the heavy lifting, like pushing new URLs to Yandex via IndexNow every time you publish, tools like indexplease can handle that for you in the background.
In this guide, we’ll walk through everything step by step:
- Creating your Yandex account
- Adding and verifying your site
- Submitting your sitemap
- Monitoring crawl and index health
- Automating discovery with IndexNow
Step 1: Create Your Yandex Account (It’s Free)
Yandex doesn’t rank pages the way Google does.
Before you can use Yandex Webmaster Tools, you’ll need a Yandex account. Think of it like making a Gmail account, but for Yandex services. The good news? It’s completely free and takes just a couple of minutes.
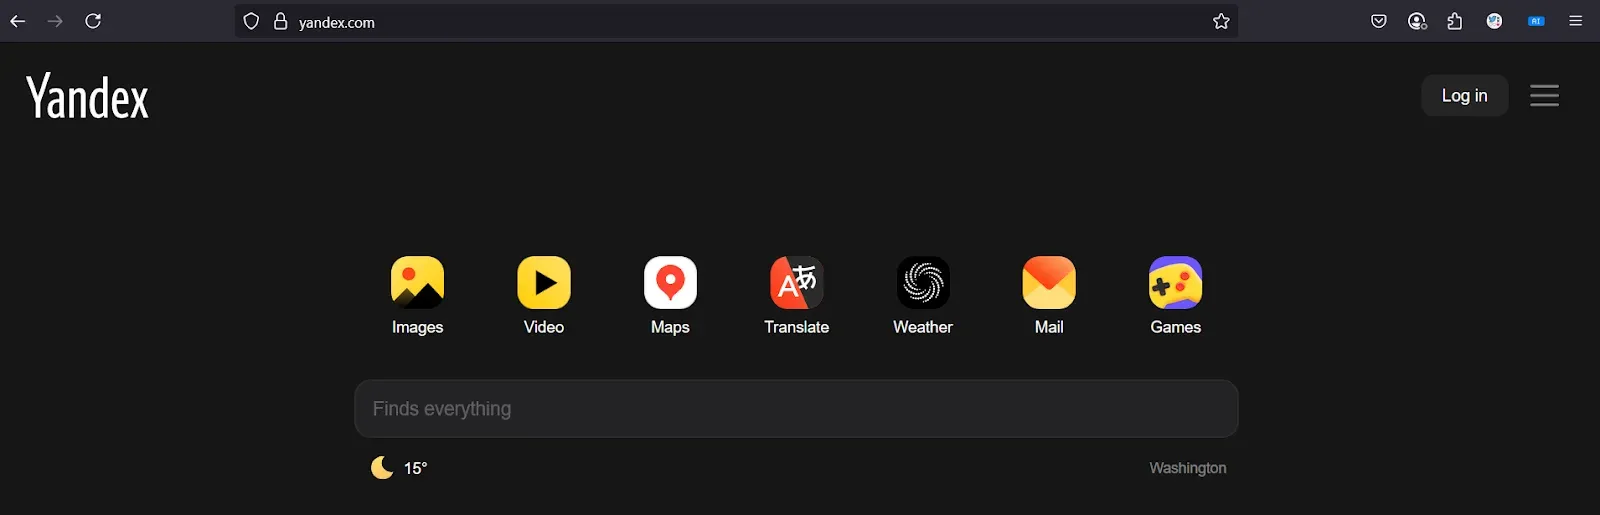
Where to Sign Up
Go to this link: https://passport.yandex.com/
You’ll land on a page that looks like a simple sign-up form.
Here’s what you’ll need to fill out:
- Your name
- A new Yandex username (this will become your Yandex email too)
- A password
- Your mobile number (for verification purposes)
- Once you fill in the details and verify your phone, you’re done.
Congratulations, you now have a Yandex account!
What You Get with Your Yandex Account
Your new account gives you free access to:
- Yandex Webmaster Tools (for managing your site’s SEO and indexing)
- Yandex.Mail (similar to Gmail)
- Yandex.Metrica (their free website analytics tool)
- Other Yandex services (like cloud storage and maps)
For this guide, we’ll only focus on Webmaster Tools, but it’s good to know you now have access to the full Yandex suite.
Step 2: Add Your Website to Yandex.Webmaster
Now that you’ve created your Yandex account, it’s time to tell Yandex about your website.
This step is like raising your hand and saying,
“Hey Yandex, here’s my site. Please start looking at it!”
Where to Go
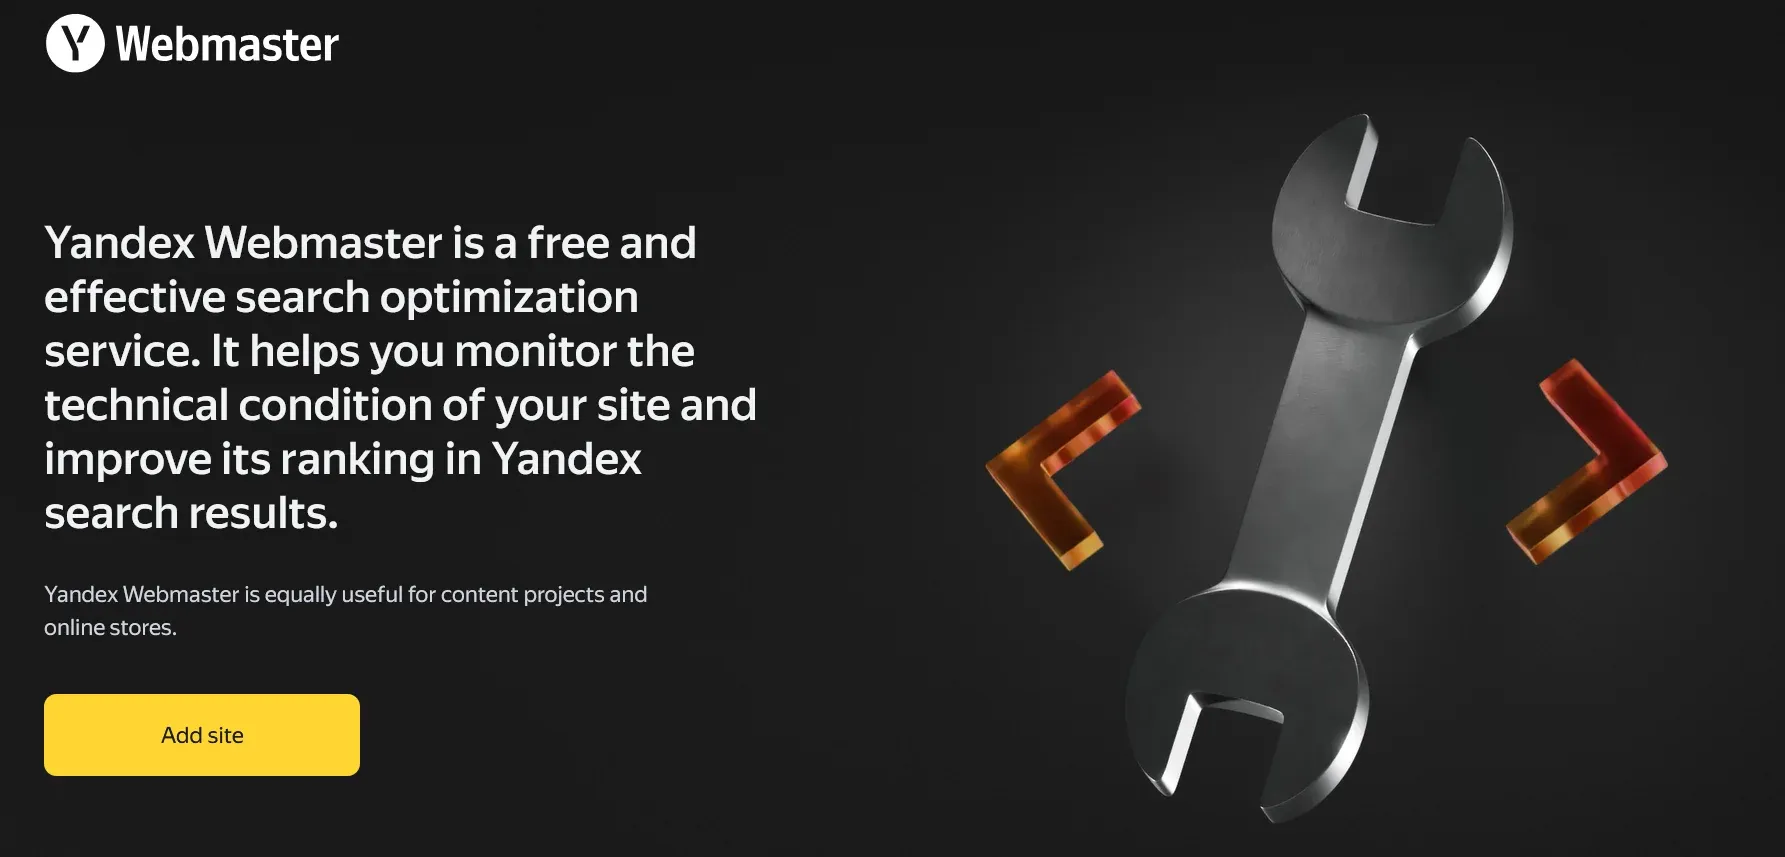
First, head over to Yandex Webmaster Tools: https://webmaster.yandex.com/
You’ll see a dashboard area where you can manage websites (called “sites” inside Yandex tools).
Look for a button that says “Add Site” or “Add Website.” Click it.
Enter Your Full Website URL (Don’t Skip HTTPS!)
When Yandex asks for your site’s address, make sure you type the full URL, including:
- HTTPS (if your site has it)
- The “www” part (if your site uses it)
What If You Have Multiple Versions?
If you’re not sure whether your site runs with www or without, open your site in a browser and check which version loads.
Also: If your WordPress site redirects automatically to HTTPS or www, submit the final destination version.
For example: If people get redirected from http://mysite.com to https://www.mysite.com, that’s the version you should enter.
Pro Tip: Why This Step Matters for Indexing
This step makes your site eligible for:
- Submitting sitemaps
- Getting crawl and index reports
- Receiving site quality (SQI) scores
- Using IndexNow for faster discovery (we’ll explain that later)
Once your site is added, Yandex will ask.
Step 3: Verify Ownership
After you add your website to Yandex Webmaster Tools, Yandex needs proof that you actually own the site. This is important. It stops random people from accessing your site’s crawl data or making sitemap changes. Luckily, Yandex gives you three easy ways to verify your website. Pick the one that feels easiest for you.
Method 1: Meta Tag Verification
This is the most beginner-friendly way, especially if you’re using WordPress.
Here’s how it works:
- Yandex gives you a small line of code called a meta tag
- You copy it.
- Then you paste it into your WordPress site’s header area.
If you’re using an SEO plugin like Yoast or Rank Math:
Go to the plugin settings → Webmaster Tools → Find the Yandex field → Paste the code → Save.
That’s it!
After adding the meta tag, go back to Yandex Webmaster Tools and click “Verify.” If everything’s correct, you’ll see a success message.
Method 2: Upload an HTML File
If you have FTP or file manager access (like through cPanel), you can:
- Download a small HTML file from Yandex.
- Upload it to your site’s root folder (where your homepage lives).
- Click Verify.
If this sounds confusing, skip this method and stick with the meta tag.
Method 3: DNS Record Verification
This option is for users who are comfortable editing DNS settings at their hosting provider.
You’ll need to:
- Add a TXT record to your site’s DNS zone.
- Wait for the change to take effect (can take several hours).
- Then click Verify in Yandex.
Unless you know what DNS means, skip this and stick with Meta Tag verification.
Which Method Should You Choose?
- Best for WordPress beginners: Meta Tag + SEO plugin (fast and safe)
- For advanced site owners: HTML upload or DNS TXT record
Step 4: Submit Your Sitemap to Yandex
Now that Yandex knows you own your website, the next big step is helping YandexBot find your pages quickly.
How do you do that? By submitting your sitemap.
A sitemap is like a table of contents for your website. It lists all your important pages, blog posts and product URLs so search engines can crawl them easily.
Where to Find Your Sitemap
If you’re using an SEO plugin like Yoast SEO or Rank Math, your sitemap is automatically generated for you.
Your sitemap URL will usually look like this: https://www.yoursite.com/sitemap.xml
To double-check: Open your browser and type in your website URL + /sitemap.xml.
If you see a list of links (or a sitemap index page), you’ve found it.
How to Submit Your Sitemap in Yandex Webmaster Tools
- Log in to https://webmaster.yandex.com/
- Click on your website from the dashboard
- In the left-hand menu, go to: Indexing → Sitemap files
- Paste your sitemap URL
- Click Submit
That’s it! Yandex will now know where to start crawling.
Step 6: Automate Faster Indexing with IndexNow + indexplease
Let’s be real, waiting days or even weeks for Yandex to crawl your new pages is frustrating. Luckily, there’s a faster way to get Yandex’s attention… without having to manually submit URLs every time you hit “publish.”
It’s called IndexNow and Yandex fully supports it.
6.1 What Is IndexNow?
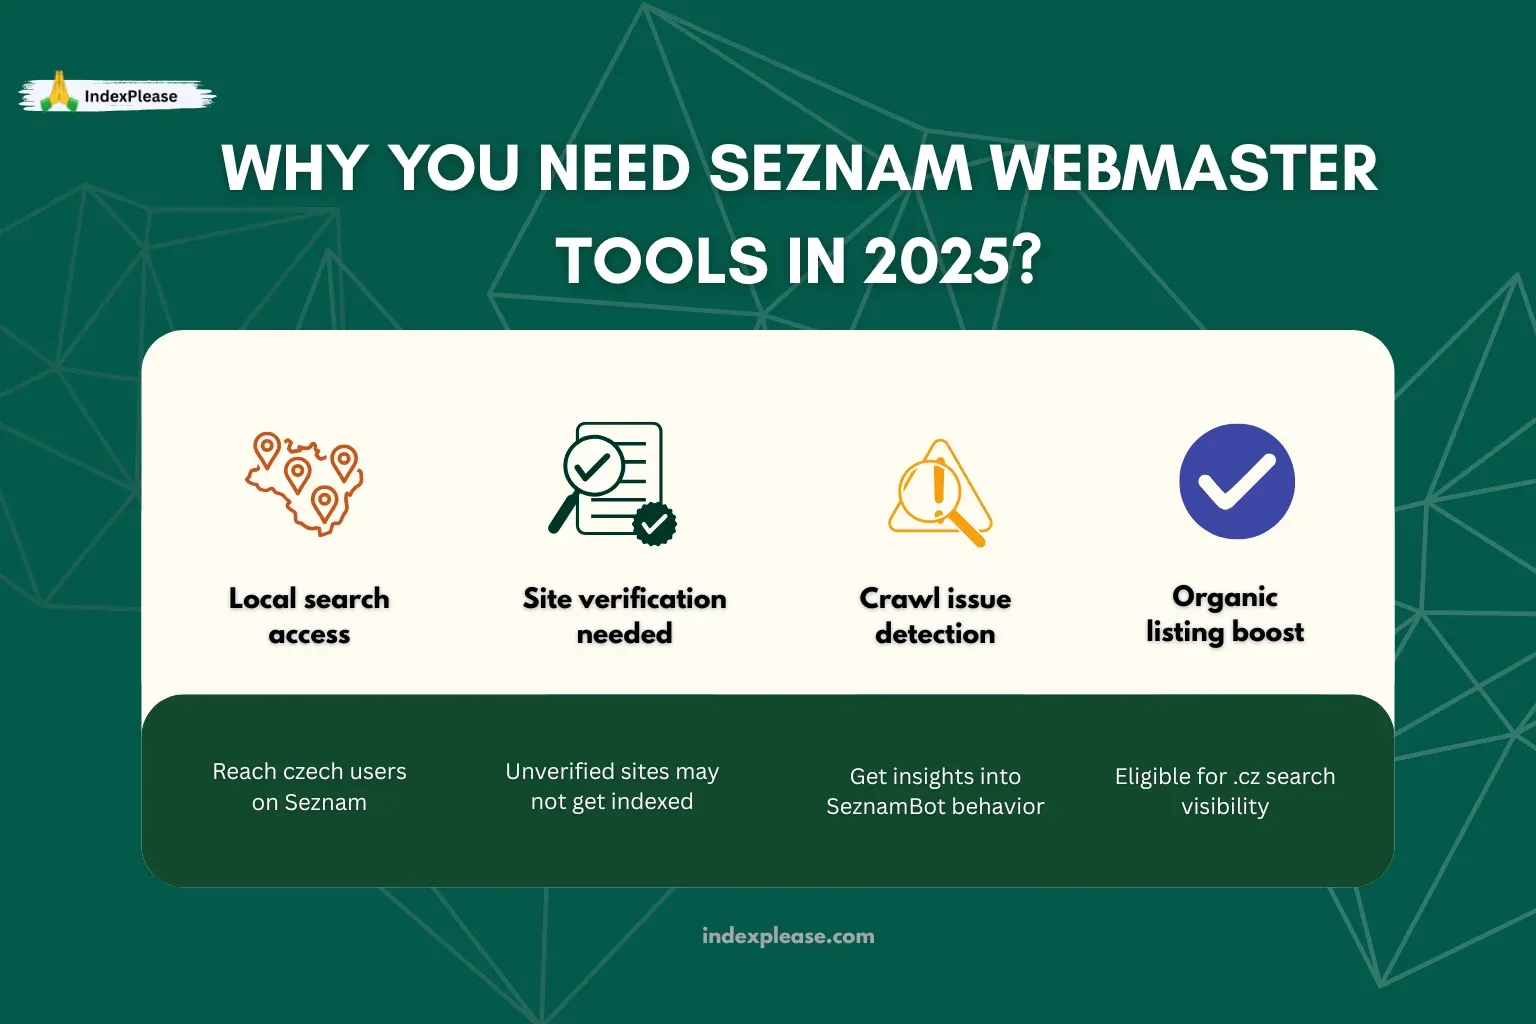
IndexNow is a free, open indexing protocol supported by search engines like:
- Yandex
- Bing
- Naver
- Seznam
Here’s how it works:
Every time you publish, update or delete a page. You send a small notification (called a ping) to Yandex.
The ping tells Yandex:
“Hey, I’ve got fresh content. Please crawl this specific URL now.”
This means no more waiting around for YandexBot to stumble upon your site on its own.
6.2 How indexplease Automates It for You
Setting up IndexNow manually means dealing with API keys, JSON files and server settings, not fun for non-developers.
That’s why tools like indexplease exist.
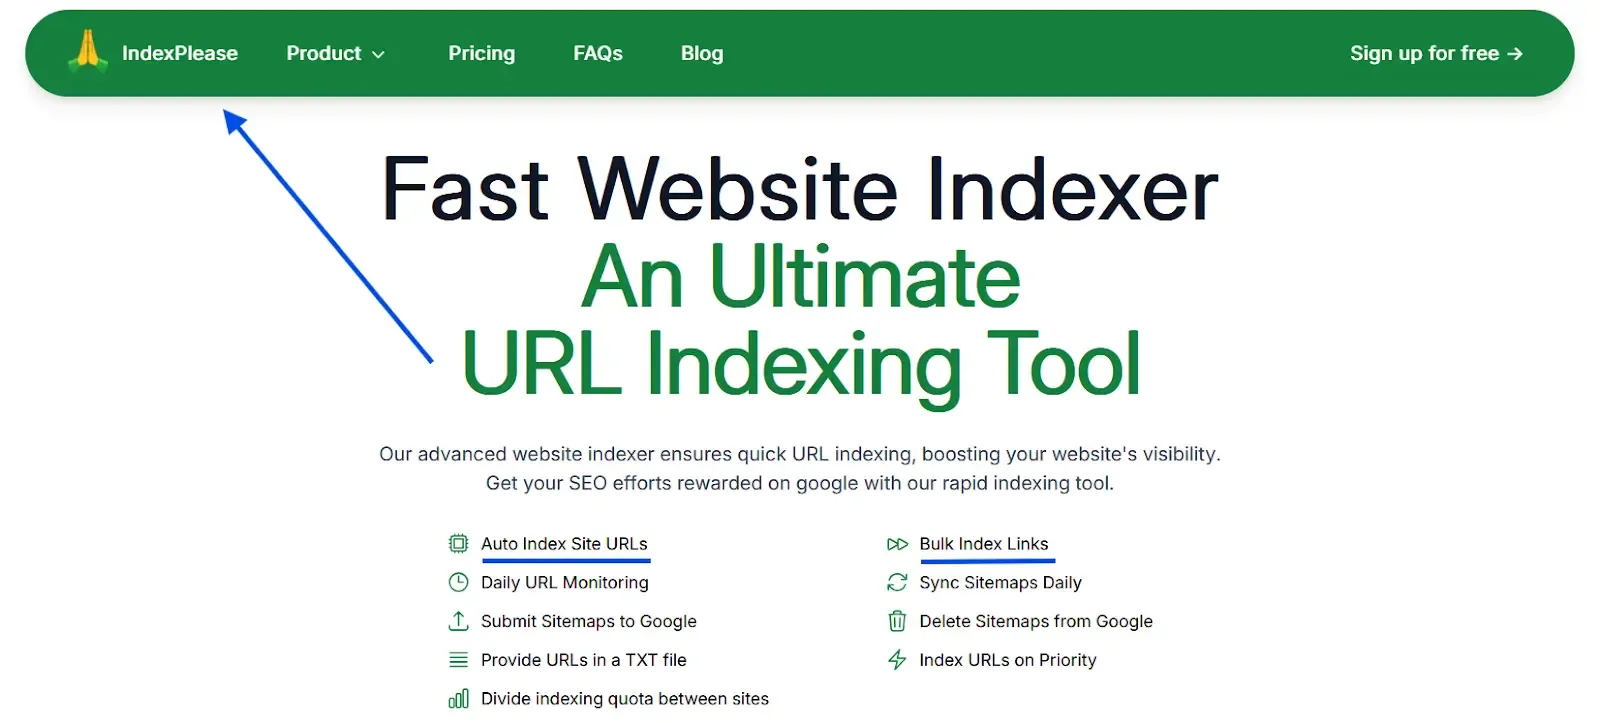
Here’s what indexplease does:
- Auto Index Site URLs
- Daily URL Monitoring
- Submit Sitemaps to Google
- Provide URLs in a TXT file
- Divide indexing quota between sites
- Bulk Index Links
- Sync Sitemaps Daily
- Delete Sitemaps from Google
- Index URLs on Priority
Result? Your WordPress or Shopify site stays in Yandex’s crawl queue, without you lifting a finger
Final Thoughts:
If you’re serious about reaching users in Russia, Kazakhstan, Belarus or any Yandex-heavy market, setting up Yandex Webmaster Tools is a must-do step.
If you want to skip the manual headaches and let automation handle future pings, indexplease has your back. It monitors your sitemap, tracks URL changes and pushes updates to Yandex (and other engines like Bing and Naver) in real-time, without any extra work from you.
So what’s your next move?
- Get your site verified on Yandex today.
- Submit your sitemap.
- And if you’re ready for faster discovery, start your free indexplease trial and watch how much quicker your pages get noticed.
Because ranking on Yandex starts with getting indexed. Let’s make that happen.
FAQs
1. Is Yandex Webmaster Tools free?
Yes! Yandex Webmaster Tools is 100% free to use, just like Google Search Console or Bing Webmaster Tools. You only need a free Yandex account to get started.
2. Do I need a .ru domain to rank on Yandex?
No, you don’t. Yandex does prioritize local and Russian-language sites, but you can rank with .com, .net or any other domain, as long as your content is relevant to Russian-speaking users.
That said:
Hosting your site in Russia or using a .ru domain can help for local SEO, but it’s not mandatory.
3. How long does it take for Yandex to index my site?
Without IndexNow or manual submissions: It can take several days or even weeks. With IndexNow and tools like indexplease: Your new pages can start appearing in Yandex within a few hours.
Speed also depends on:
- Your site’s SQI score
- Crawl health
- Sitemap freshness
- Content quality
4. Does Yandex read Schema.org structured data?
Yes, but not as deeply as Google. Yandex can parse popular Schema types like:
- Articles
- Products
- FAQs
- Breadcrumbs
If you’re using WordPress with Yoast or Rank Math, your Schema setup should work fine for Yandex too.
5. What’s the difference between Yandex Webmaster and Google Search Console?
Both tools help you:
- Submit sitemaps
- Monitor crawl errors
- Track indexing
But Yandex Webmaster also gives you:
- An SQI score (Site Quality Index, unique to Yandex)
- Deeper crawl control for Russian users
- Support for IndexNow out of the box (which Google doesn’t support)
6. Will setting this up help my rankings?
Directly? No, just setting up Webmaster Tools won’t boost rankings.
But indirectly? Absolutely.
By submitting your sitemap, fixing crawl errors and automating indexing with tools like indexplease, you improve your chances of getting indexed faster and more frequently. And pages that aren’t indexed… can’t rank.
So setting this up is a critical step in your Yandex SEO strategy.