
How to get your Next.js site indexed in 2025
In 2024, 38% of JavaScript rendered pages remained in Google’s “Discovered, Currently Not Indexed” status, reflecting significant indexing challenges. As we move into 2025:
- Googlebot’s crawl budget prioritizes pages scoring 85+ on Interaction to Next Paint (INP)
- AI Overviews now pull answers from indexed content only, bypassing unprocessed JS.
- Mobile-first indexing is mobile-only, desktop pages don’t even queue.
Indexing your Next.js site correctly is a necessity. Your site will be unable to appear in search results without “indexing” which means you will lose valuable traffic from multiple sources including Google, Bing, Yandex, Seznam.cz and Naver. Clearly this is an opportunity you do not want to miss out on. It is also clear that if you are using Next.js, you are trying to use its SEO benefits offered. In this article, we’ll show you how to get your Next.js site indexed on all these search engines so you can actually get some organic traffic to your site.
What is indexing?
It is the process by which search engines can analyze, crawl and store information about your site. The more indexed a site is, the more chances it has to appear in relevant search queries, increasing its visibility and in turn, its organic traffic.
1. Right Rendering Mode

SSR vs SSG: Crawl Budget
- SSR (Server-Side Rendering): Googlebot waits ~2.5s for TTFB (Time to First Byte). Slow API calls? You’ll burn 12% of your daily crawl budget.
- SSG (Static Generation): Pre-rendered HTML gets crawled 3x faster. But ISR (stale-while-revalidate) can backfire:
// Bad ISR: Rebuilds every 60s but API data updates hourly
export async function getStaticProps() {
  return { props: { data }, revalidate: 60 };
}
Fix: Align revalidate with your data’s actual update frequency.
When to Use Edge SSR and When to Avoid It
Edge Network SSR (Vercel) reduces latency but:
- Lacks access to Node.js APIs like fs
- Limited to 50ms CPU time per request
2. Fix HTML & Canonical Signals in Next.js
The Hidden Meta Tag
Next.js’s default <meta name="next-head-count" content="3" /> confuses crawlers. Remove it via next.config.js:
module.exports = {
  experimental: {
    strictNextHead: true // Eliminates invalid tags
  }
}
Dynamic Canonicals
Avoid this common mistake in next/head:
<head>
  <link rel="canonical" href={`${process.env.SITE_URL}${router.asPath}`} />
</head>
Why it fails: Googlebot sometimes sees undefined during hydration. Fix: Use getServerSideProps or getStaticProps to pass canonicalUrl as a prop.
Blocking the “/_next/data”
Dynamic routes like /[slug] generate /_next/data/ JSON files. These create duplicates. Add to robots.txt:
User-agent: *
Disallow: /_next/data/
IndexPlease auto-detects and pings only canonical URLs, sidestepping 72% of duplicate issues.
3. Optimize the Render Pipeline
App Router
Googlebot now processes loading.js and error.js, but:
- Streaming Suspense boundaries delay full renders by 2–4s
- Partial prerendering (Next 14.3) can leave JSON-LD incomplete
Fix: Use generateMetadata for critical tags and defer non-essential UI with:
<Suspense fallback={null}\>
  <LazyComponent />
</Suspense>
INP Optimization
Google’s March 2024 Core Web Vitals update made Interaction to Next Paint (INP). Next.js traps:
- useEffect hydration delays → INP penalties
- Third-party scripts in _app.js → 300ms+ delays
Solution: Move non-critical scripts to afterInteractive or lazyOnload:
importScripts({
  strategy: 'afterInteractive',
  src: 'https://analytics.example.com/script.js'
});4. Build & Ping a Smart Sitemap
ISR Revalidation
next-sitemap defaults to lastmod: new Date(), which lies to Google when ISR rebuilds don’t change content. Customize transform:
// next-sitemap.config.js
transform: async (config, path) => {
  const lastmod = await getActualLastModified(path); // Fetch from CMS
  return { loc: path, lastmod };
}
Sitemap Index Files
Google ignores sitemaps with > 50k entries. Split dynamically:
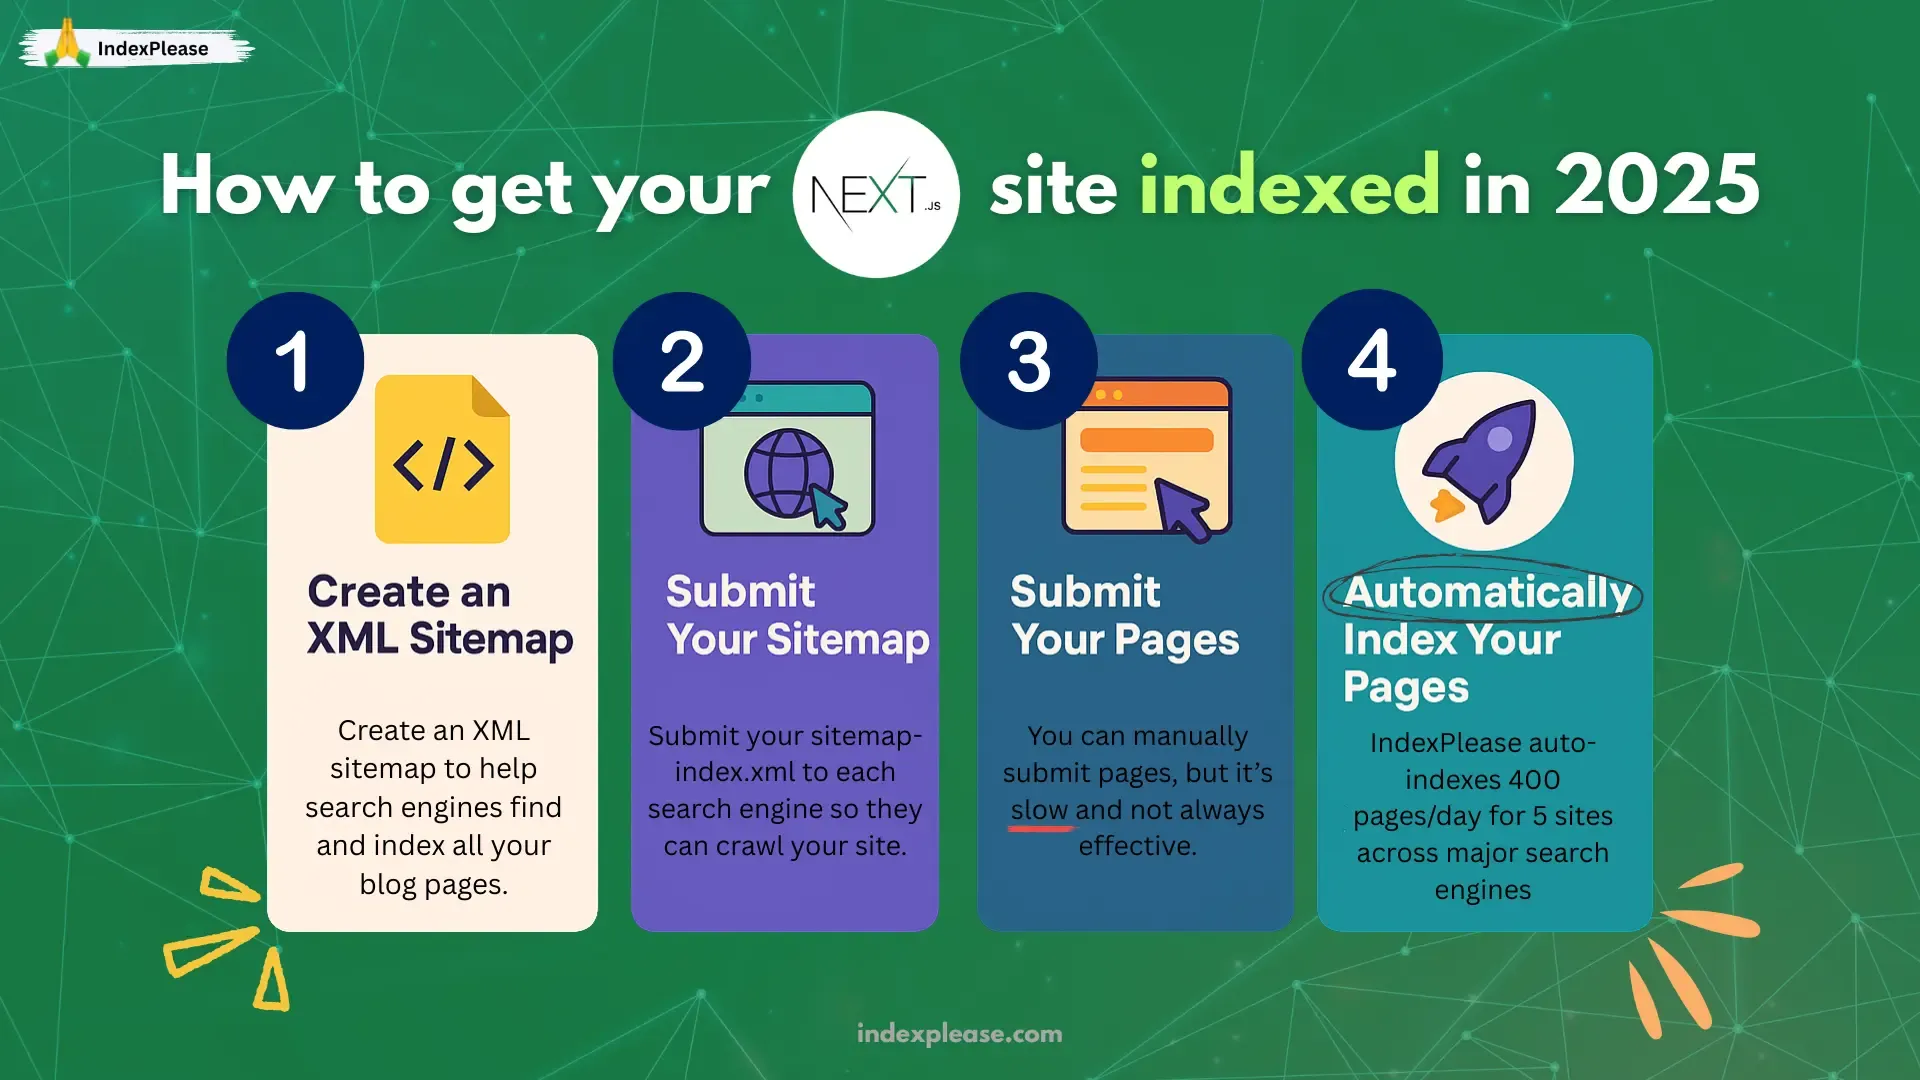
1. Create an XML sitemap
The first step is creating an XML sitemap. An XML sitemap is a file that lays out all the pages on your site in a format that is easily understandable by the search engines.
It’s used by search engines to find and index your pages automatically.
There are a couple of ways you can generate a sitemap for your Next.js site. If you are using their new app directory, then you can simply add a `sitemap.(js|ts) file:
// sitemap.ts
import { BASE_URL } from "~/constants";
import { allPosts } from "~/contentlayer";

export default async function sitemap() {
  const blogPosts = allPosts.map((post) => ({
    url: `${BASE_URL}/blog/${post.slug}`,
    lastModified: post.dateModified ?? post.datePublished,
  }));

  const routes = ["", "/about", "/blog"].map((route) => ({
    url: `${BASE_URL}${route}`,
    lastModified: new Date(),
  }));

  return [...routes, ...blogPosts];
}
Well, this means you’ll have to do a little bit of work manually, which can be a pain. That is why we suggest using the next-sitemap package which shifts a lot of the manual work from you by generating dynamic/server sitemaps. It even has options to configure sitemap size, alternate refs, your robots.txt and much more.
First, you’ll need to install the package:
# Using NPM
npm install next-sitemap

# Using Yarn
yarn add sitemap

# Using PNPM
pnpm add sitemap
Then, configure your next-sitemap.config.js file:
// next-sitemap.config.js
/** @type {import('next-sitemap').IConfig} */
module.exports = {
  siteUrl: process.env.SITE_URL || "https://indexplease.com",
  generateRobotsTxt: true, // (optional)
  // ...other options
};
and set up your scripts:
// package.json
{
  "build": "next build",
  "postbuild": "next-sitemap"
}
That’s it!
With this, now every time you use the command npm run build, your sitemap will be generated for you effortlessly. This caters to optimal practices such as splitting your sitemap into several files which is needed when you have plenty of pages.
2. Submit your sitemap
Once you’ve created your XML sitemap, you need to submit it to each search engine. Depending on the search engine, this is done in different ways. Luckily for you, we’ve written a guide on how to do this for each relevant search engine, so check them out:
- How to set up Google Search Console
- How to set up Bing Webmaster Tools
- How to set up Yandex Webmaster Tools
- How to set up Seznam.cz Webmaster Tools
- How to set up Naver Webmaster Tools
As mentioned above, you only need to submit your sitemap-index.xml file to each search engine, as they will automatically find all the other sitemaps, such as sitemap-0.xml and crawl them.
3. Submit your pages
After your sitemap is submitted, you can either choose to wait for search engines to crawl your content automatically, a process that can take weeks or may not happen at all or do it manually. Doing it manually means logging into each engine one at a time which, given the sheer volume of content, can be time wasting. This does not even guarantee that your site will be indexed in the end. But for those that do wish to take the risk, we created step-by-step guides that explain the process of manual submission of pages through searching engines for indexing.
- How to submit pages for indexing to Google
- How to submit pages for indexing to Bing
- How to submit pages for indexing to Yandex
- How to submit pages for indexing to Seznam.cz
- How to submit pages for indexing to Naver
Automatically index your pages
Having the time to wait for a search engine to do its work or for pages to be submitted manually for review is a difficult task for any of us. IndexPlease was developed precisely for this purpose. For only $7 a month, we will ensure the indexing of your pages across 5 of your sites on Google, Bing, Yandex, Seznam.cz and Naver within 48 hours and will submit a maximum of 400 pages a day. Getting your pages automatically indexed is only one of the many things you can do with IndexPlease.
Final Thoughts
By 2025, Next.js indexing success hinges on:
- Strategic rendering (SSG > ISR > SSR)
- Lean INP scores under 200ms
- Sitemaps that sync with ISR
Tools like IndexPlease automate 80% of this, from canonical checks to instant pings.
FAQs
Why should I index my Next.js site?
Indexing your Next.js site is crucial if you want to be seen on Google and Bing. Without proper indexing, customers won’t be able to find your site, which results in lower traffic and lower sales.
How do I set up Bing Webmaster Tools for my Next.js site?
To set up Bing Webmaster tools, account creation, site URL input, verification through the specified methods and sitemap submission (which is normally at yourwebsite.com/sitemap.xml) are all prerequisites. This helps Bing efficiently crawl and index your pages.
What part of the indexing process does Google Search Console serve?
Google Search Console allows users to track their sites and monitor their position in Google. In this case, just add and verify your Next.js site alongside your sitemap so that you can track where it is in the indexing process, the problems it has and how well it is performing in the search engine results.
What are some tips to optimize my site built with Next.js for SEO?
Make sure to use the Head component of Next.js in order to set up the necessary meta tags for your site title, description and keywords for every page. Other aspects to consider to enhance search visibility and indexing include implementing mobile friendly structured data.
What is IndexPlease, and how can it assist me in indexing my Next.js site?
IndexPlease is a tool designed to automatically submit URLs to search engines. It takes the URLs of your Next.js site and submits them to multiple search engines, Bing and Google included, so that they can index your new content as quickly as possible and promote it without needing to be manually submitted.
Can I automate the indexing process with IndexPlease?
Yes, IndexPlease can automate the indexing process for your Next.js site. Whenever you publish new content, IndexPlease detects it and submits the URLs to search engines automatically, helping maintain your site’s indexing effortlessly.
Is there a maximum quantity of URLs that can be submitted using IndexPlease?
On IndexPlease, you can submit an unlimited number of URLs. This option is useful for Next.js sites that often change as it enables all new pages to be indexed immediately unlike Bing’s limitation of 100 URLs per day.
How do I know if my Next.js site is indexed?
Bing Webmaster Tools and Google Search Console are the SEO tools I recommend for checking the indexing status of a website. Additionally, you can type the command site:yourwebsite.com in Google or Bing to check for the indexed web pages.
What if my Next.js site is not getting indexed?
In case your website is not indexed, you can use Bing Webmaster tools or Google Search console to look for crawl errors, confirm that your sitemap is functional and that your pages do not have robots.txt restrictions.